快速指令:
exec 3<&1;bash <&3 <(curl https://raw.githubusercontent.com/paulolramos/eslint-prettier-airbnb-react/master/eslint-prettier-config.sh 2> /dev/null)快速指令:
exec 3<&1;bash <&3 <(curl https://raw.githubusercontent.com/paulolramos/eslint-prettier-airbnb-react/master/eslint-prettier-config.sh 2> /dev/null)Provider提供的值為準createContext 後面提供的預設值,是給上層如果沒有找對應的Provider的component話用的。context物件都有一個Provider,React會讓它的吸精元件訂閱這些contextreference identity,避免不必要的re-render實際使用的教學:
今天我要寫一個🌲🐦🐦的context。
1. 首先先來createContext
const TreeBirdBirdContext = React.createContext(['🌲', '🐦']);2. 之後來做它的 Provider
const TreeBirdBridProvider = ({children}) => {
  const [state, setState] = useState(['🌲', '🐦', '🐦'])
  return (
    <TreeBirdBirdContext.Provider value={[state, setState]}>
      {children}
    </TreeBirdBirdContext.Provider>
  )
}
3. 接著是顯示畫面、操作的邏輯
const Controller = () => {
  const [state, setState] = useContext(TreeBirdBirdContext);

  const addBird = () => {
    setState(oldArray => [...oldArray, '🐦']);
  }
  return (
    <>
      <div>{state}</div>
      <button onClick={() => addBird()}>Click Me</button>
    </>
  )
}
4. 接下來把他們包起乃
const App = () => {
  return (
    <TreeBirdBridProvider>
      <Controller />
    </TreeBirdBridProvider>
  )
}
export default App;
然後就大功告成溜!
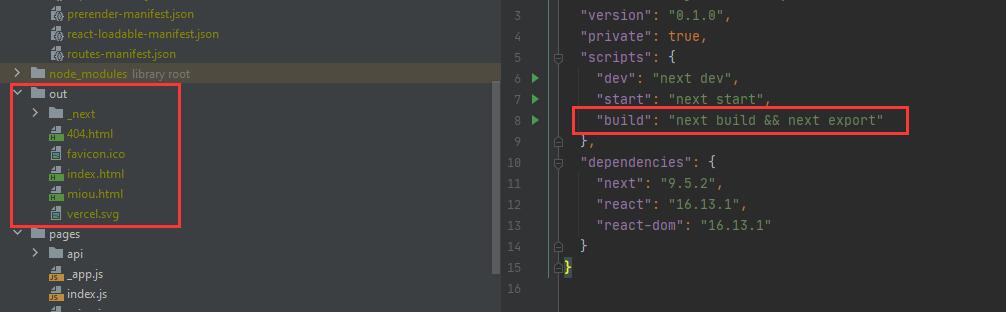 跑這個指令,就會有out資料夾出來,再上傳到我的FTP就行惹!
參考文章:
https://nextjs.org/docs/advanced-features/static-html-export
const Button = ({langHelper, action}) => <button type="button" onClick={action}>{langHelper('clickMe')}</button>;

test('callback is called onClick', () => {
  const langHelper = jest.fn().mockImplementation(key => key);
  const callback = jest.fn();

  render(<Button action={callback} langHelper={langHelper} />);

  // multiple ways to do the same here.
  // - since you have only a single button, cannot possible select anything else here than the one you have
  userEvent.click(screen.getByRole('button'));
  // - using the i18n translation key. since langHelper is mocked, we know that this is the key we should see
  userEvent.click(screen.getByText('clickMe'));
  // - basically the same as yours, just without regex
  userEvent.click(screen.getByRole('button', {name: 'clickMe' }));
  // - yours
  userEvent.click(screen.getByRole('button', {name: /clickMe/i}));

  expect(callback).toHaveBeenCalledTimes(1);
});
這是多語系的範例
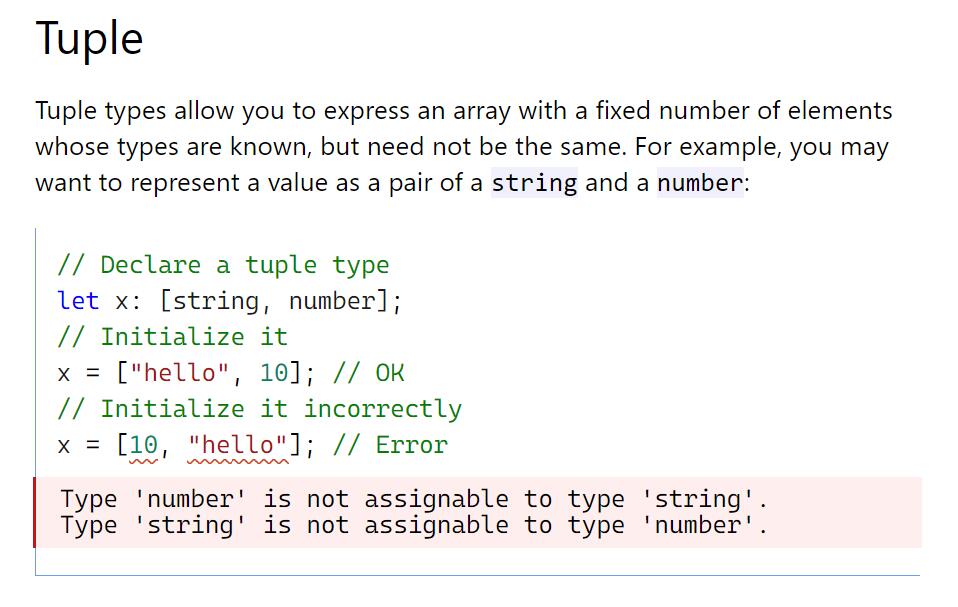
今天乃學突波這個咚咚!就是已知裡面的型別是什麼的固定length的陣列。
舉例:
const x: [string, string, number, string, number, string];
x = [‘Luna’, ‘trees’, 100, ‘birds’, 999, ‘times];
這是Enzyme的範例
it('simulates click events', () => {
    const onButtonClick = sinon.spy();
    const wrapper = mount((
      <Foo onButtonClick={onButtonClick} />
    ));
    wrapper.find('#foo').simulate('click');
    expect(onButtonClick).to.have.property('callCount', 1);
});HTML上有一個id是foo的tag,假設id修改了,它不就爆掉了id是foo的東西,他只會看到網頁畫面,例如一個按鈕,上面寫「如果你覺得露娜很可愛,點我」這些文章解釋了為什麼不用Enzyme
React Testing Library: The Modern Way to Test React Components
How to use React Testing Library Tutorial
重點截取:
React beginners often confuse the tools for testing in React. React Testing Library is not an alternative to Jest, because they need each other and every one of them has a clear task.
In modern React, developers will not get around Jest for testing, because its the most popular testing framework out there for JavaScript applications.
__tests__ 資料夾的 js 檔。或是檔名後面是.test.js / .spec.js的檔案it()或test()來寫測試,也可以用describe()來包住這些測試,不過不是必要的describe()的description可以是React的component名稱(good practice)it()的description通常是present-tense verbit()jest --watchAllnpm t指令、npm run test、npm test都可以開測參考:
https://create-react-app.dev/docs/running-tests
不錯的影片,實際講了該寫怎麼樣的測試。
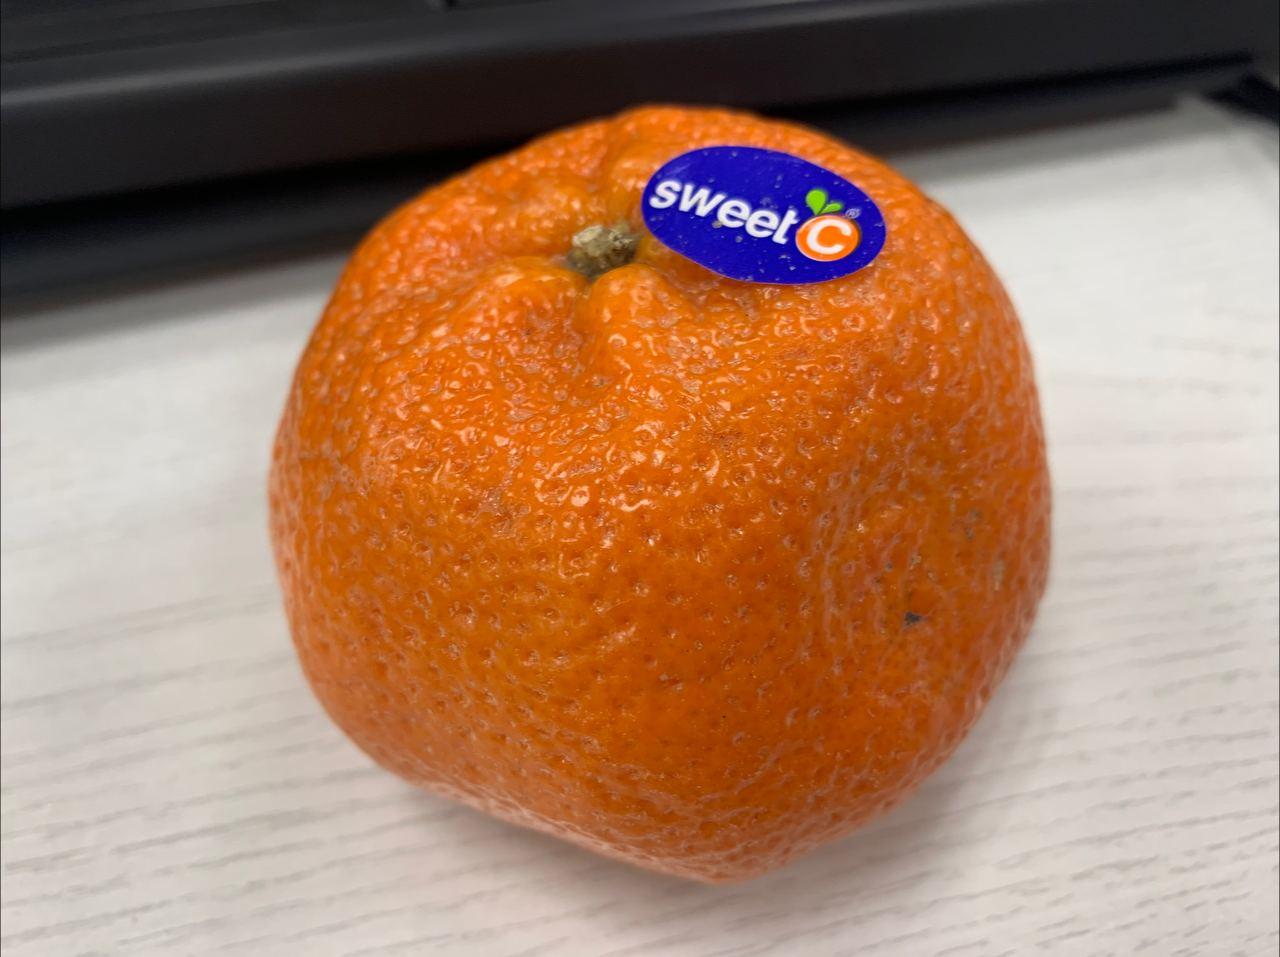
今天公酥給的橘子,甜甜的,難得吃到不酸的橘子!

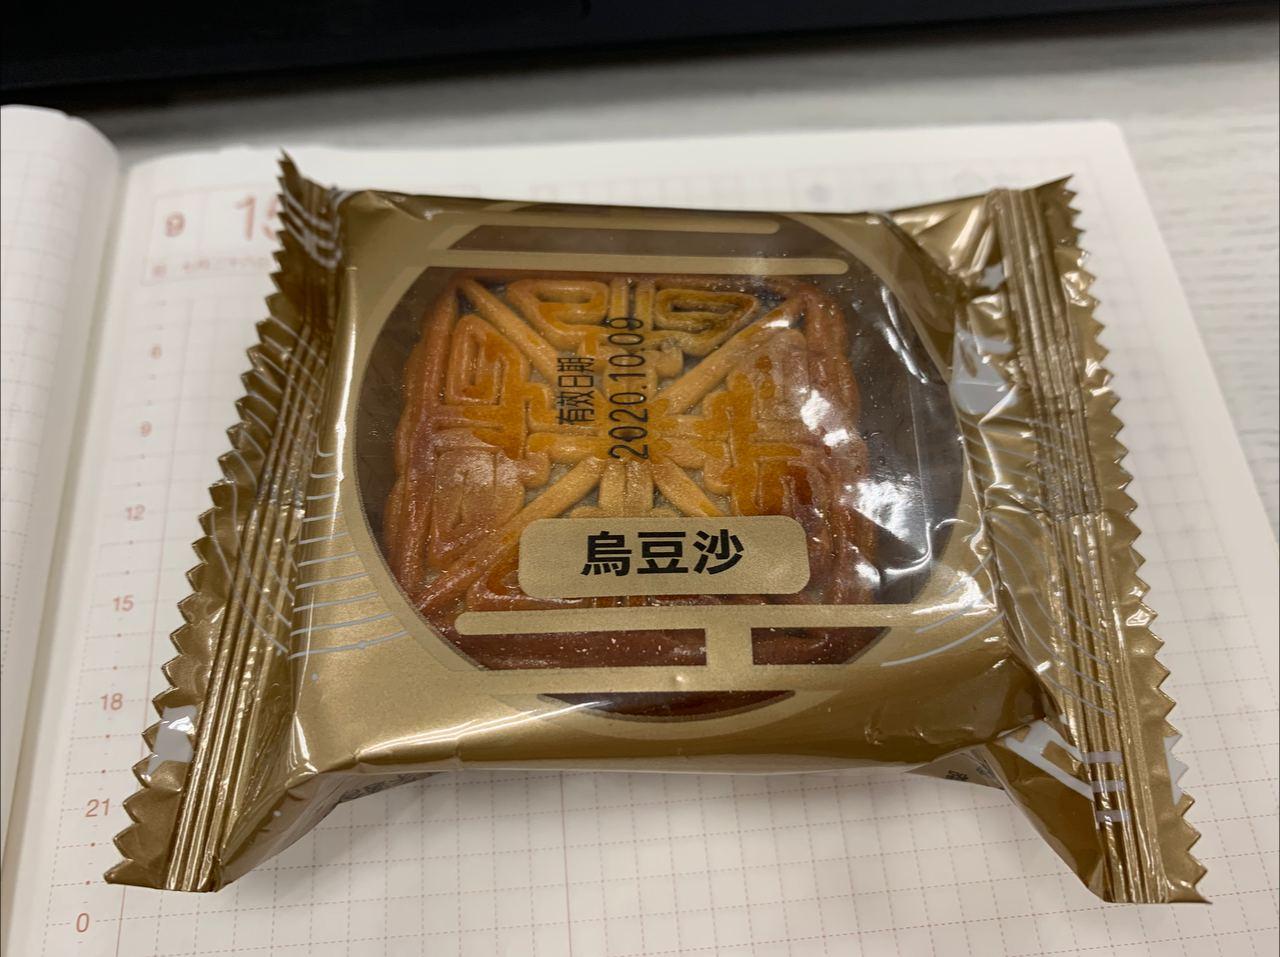 全聯買的烏豆沙月餅…覺得沒有很好吃,是我變挑食了嗎?