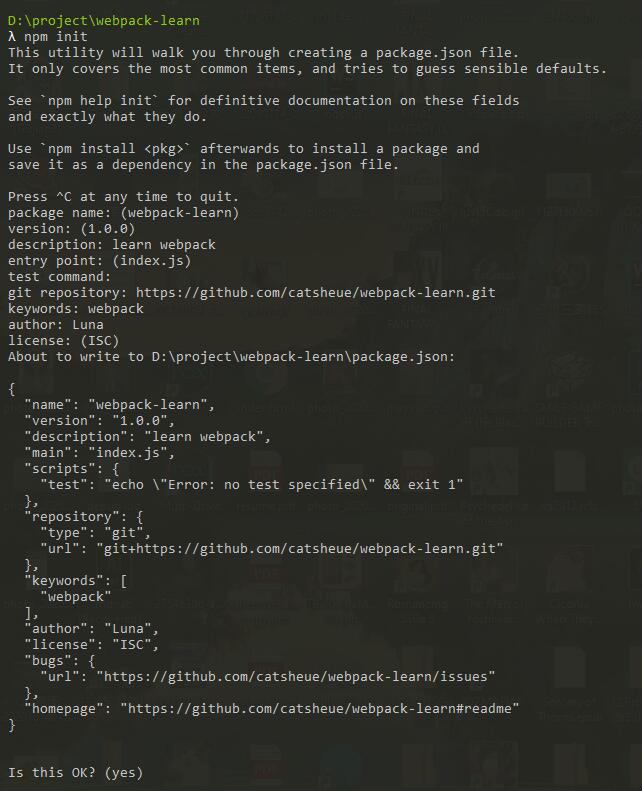
首先先開一個專案npm init
開好專案之後,安裝webpack
npm install webpack webpack-cli --save-devnpm install react react-domnpm i @babel/core babel-loader @babel/preset-env --save-dev安裝完之後,安裝react 和 react-dom,為了要用React
之後再安裝Babel,為了可以寫ES6+
安裝成devdependices是因為它只有開發的時候需要,因為build完就是編譯過後的。(同理,webpack也是)
還有webpack-dev-server
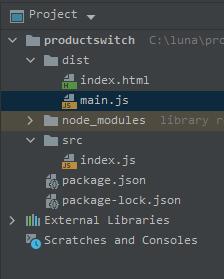
npm i webpack-dev-server -D接下來,分資料夾dist和src
在src資料夾建個檔案 index.js
function component() {
  const element = document.createElement('div');
  element.innerHTML = 'Hi Luna';
  return element;
}

document.body.appendChild(component());
建好之後在根目錄再建一個資料夾dist,建一個index.html檔案
<!DOCTYPE html>
<html lang="en">
<head>
    <meta charset="UTF-8">
    <title>cuteLuna</title>
</head>
<body>
    <script src="main.js"></script>
</body>
</html>
注意這裡的main.js會自己生成
跑npx webpack就可以打包嘍!!
之後為了更客製化的設定,建一個webpack.config.js檔
const path = require('path');

module.exports = {
  mode: 'production',
  entry: './src/index.js',
  output: {
    filename: 'main.js',
    path: path.resolve(__dirname, 'dist'),
  },
};

這裡的打包檔案說: main.js的大小是110bytes,比./src/index.js 166 bytes 還小
不過編輯器可以用按的啦
- npm init
- 安裝webpack、webpack-cli
- 安裝react、reactDOM
- 安裝babel
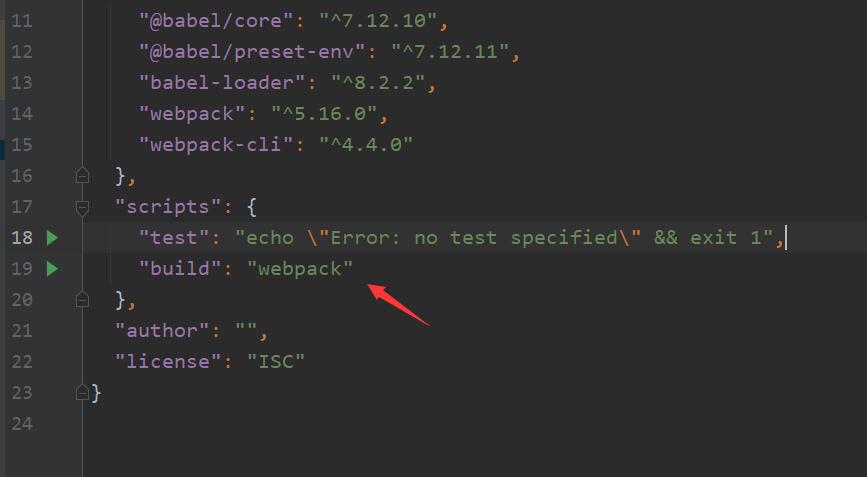
- 建一個webpack.config.js檔來客製化設定webpack
生產需要用的套件,要用npm i,測試的套件( eslint, testing library… ) 安裝指令是npm i -D
By stating what dependencies a module needs, webpack can use this information to build a dependency graph.
webpack會依你import的套件,來生成一個dependency graph
平常要跑webpack,指令是npx webpack
接下來要做更進一步的設定
const HtmlWebPackPlugin = require('html-webpack-plugin');
const { CleanWebpackPlugin } = require('clean-webpack-plugin');
const path = require('path');
const webpack = require('webpack');

module.exports = {
  devtool: 'inline-source-map',
  entry: './src/index.js',
  output: {
    filename: 'main.js',
    path: path.resolve(__dirname, 'dist'),
  },
  module: {
    rules: [
      {
        test: /\.(js|jsx)$/,
        exclude: /node_modules/,
        use: {
          loader: 'babel-loader',
        },
      },
      {
        test: /\.(scss|css)$/i,
        use: ['style-loader', 'css-loader', 'sass-loader'],
      },
      {
        test: /\.(png|svg|jpg|jpeg|gif)$/i,
        type: 'asset/resource',
      },
      {
        test: /\.(woff|woff2|eot|ttf|otf)$/i,
        type: 'asset/resource',
      },
    ],
  },
  plugins: [
    new CleanWebpackPlugin(),
  ],
};
接下來參考這篇把dev-server架起來:
架webpack-dev-server在本機端跑跑
我的github參考:
https://github.com/catsheue/webpack
另外,為了不要手動改 index.html檔,需要這個套套:
HtmlWebpackPlugin